Charge Port Repair - steps to Keep Your Device Powered Up
Charge port not working ?
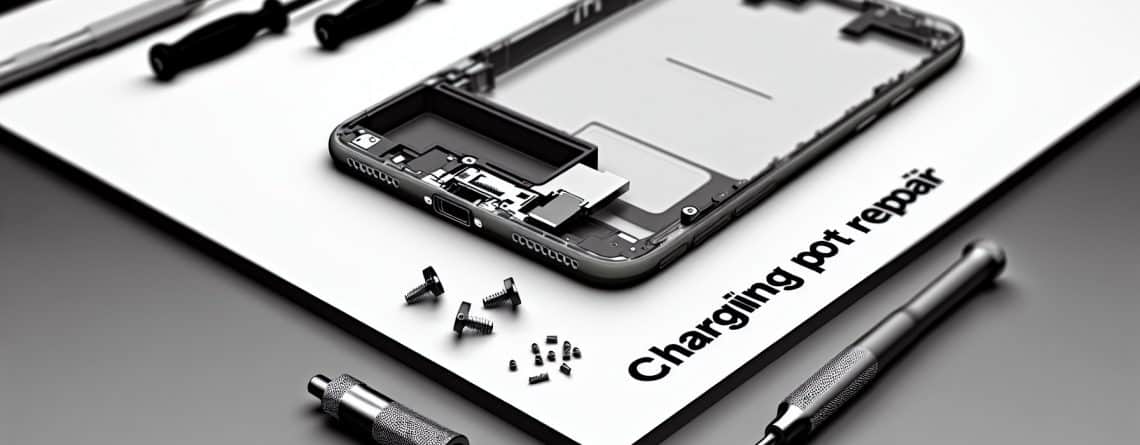
Is your phone constantly running out of battery yet struggling to charging due to a faulty charge port? Don’t worry! This article guides you through easy steps to fix your phone’s charging port, ensuring your device stays powered up. We should be able to help you carry out your own charging port repair. Hence you won’t need to see a repair company. You can do it yourself.
Whether your charging port is loose, damaged, or clogged, these solutions will help. From cleaning the port to replacing it, we provide clear instructions and troubleshooting tips for your charging connector. By following our expert advice, you can avoid the hassle and cost of a repair shop. No technical knowledge is required; we break down each step for you. However if you get stuck and don’t want to tackle it yourself we clean a charging port out free of charge.
Ready to regain control of your battery life?
Read on for our easy steps to repair your phone charging port and keep your device powered up.
Common issues with phone charging ports...
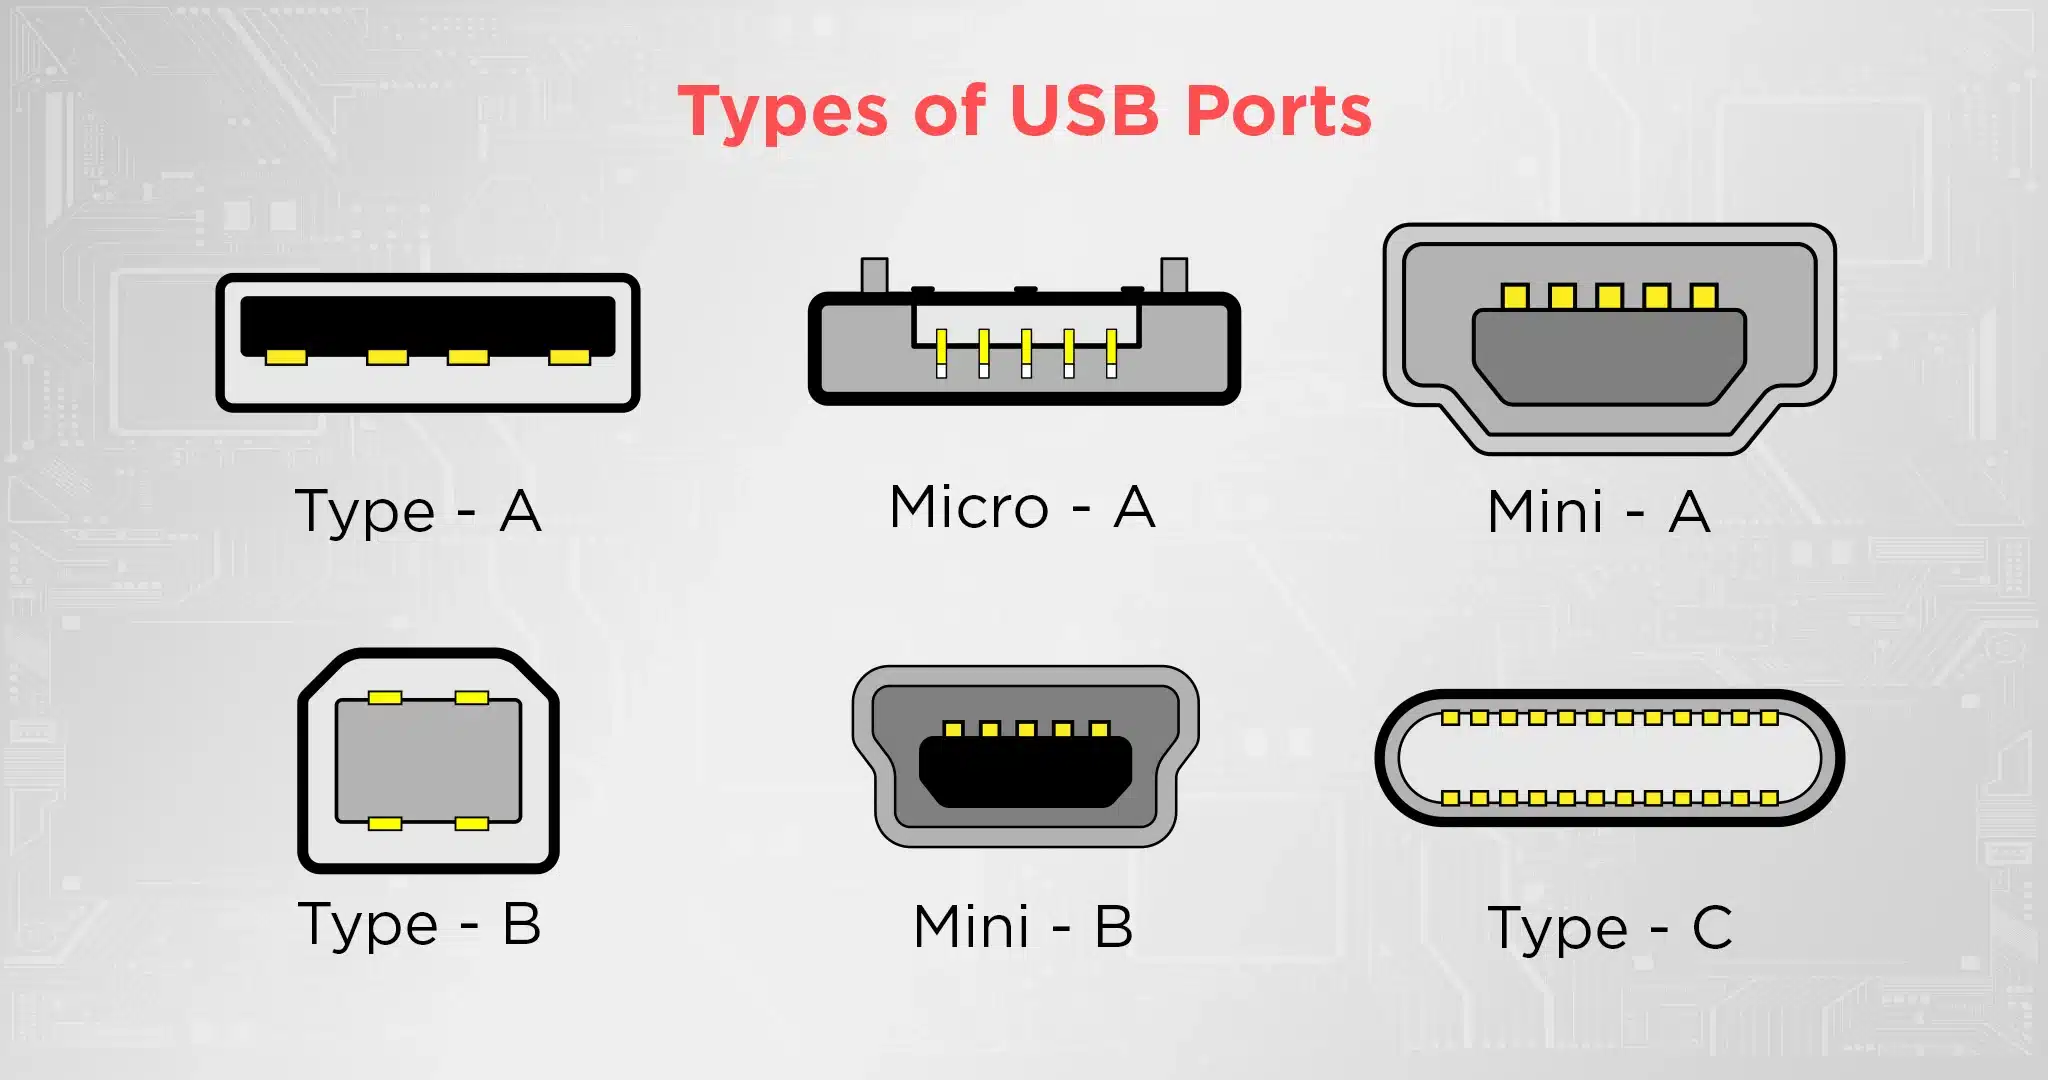
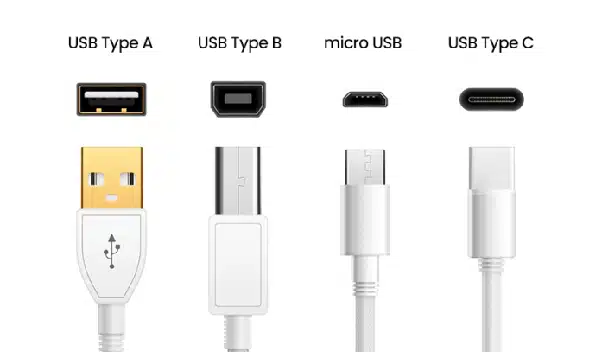
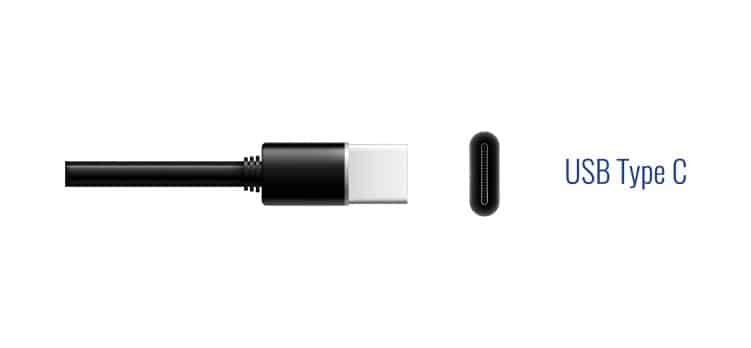

Firstly, what types of charge ports are there ?
There are a quite a few different types, tho commonly these days more and more devices are just becoming USB-C to try and standardise cables and redice e-waste :
- Lightening Port: Common on all iPhones upto and inlcluding the iPhone 14. What charge port does an iphone 15 have ? It has a USB-C.
- USB-C: This is now used on almost all devices such as Samsung and Android Phones and now iPads and iPhones
- Micro A: Commonly used on Android phones, now superseded by USB-C these day,; but if you have an older Android or tablet – this will be what it has .
Identifying the specific issue helps determine the appropriate repair steps for your charging connector. Let’s move on to signs indicating a damaged charging port.
Common problems that may lead to a faulty charge port
Your phone’s charging port is crucial for connecting to a power source. However, it can develop issues over time:
- Loose Port: If your cable doesn’t stay securely in the port or you need to hold it at an angle, the port may be loose due to repeated use or physical damage.
- Damaged Charge Port: Mishandling or accidents can cause bent or broken pins, preventing the port from working. This is commonly caused by using a device whilst it’s plugged in to a power supply and flexing the cable. A lot of repair we get in are where people are stretching the wire because it’s too short from the socket to the device and even occasionally someone else walks by and catches the wire ripping it out of the port
- Debris Build-up: Dust and lint can obstruct the connection, resulting in poor or no charging. This by far the most common. 8 out of 10 people that come to us wanting a charging port replacement just have in cleaned out for free seeing that it takes us 2 minutes.
Identifying the specific issue helps determine the appropriate repair steps for your charging connector. Let’s move on to signs indicating a damaged charging port.

Signs of a Damaged Charge Port
Before repairing, identify signs of a damaged port:
- Intermittent Charging: Charging inconsistently indicates a faulty port.
- Slow or No Charging: If your device takes long to charge or doesn’t charge at all, the port is likely damaged.
- Loose Connection: If the cable wiggles or falls out easily, the port may be loose.
- Visible Damage: Bent pins, broken connectors, or a loose port are clear indications.
If you observe these signs, it’s time to repair your charging port. Let’s gather the necessary tools first.
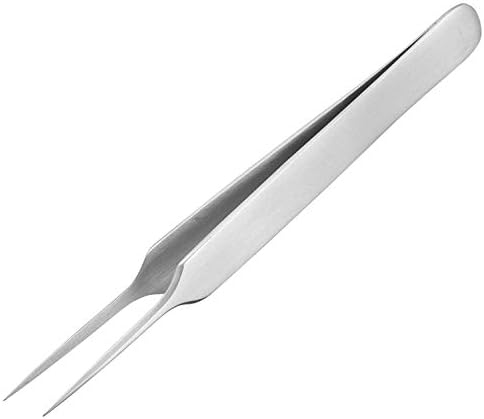
Tools needed for repairing a charging port if it's just a build up of dirt and debris
To repair your phone’s charging port, you’ll need:
- A fine pointed pair of tweezers: And nothing else
With this tool ready, let’s start the repair process.
let’s start the repair process
Step 1: Power Off Your Device
Before any repair, power off your device and remove the battery if possible. This ensures safety and prevents accidental damage.
- Turn off your phone by holding the power button.
- Select “Power off” to shut down the device.
- Remove the battery if it’s removable.
If the battery is non-removable, proceed to the next step.
Step 2: Clean the Charge Port
Cleaning the port is often the first step in fixing it. Dust and debris can obstruct the connection.
- Use the tweezers to gently remove loose debris.
- For stubborn dirt scrape around at the edges, helps if you have a magnifying glass and a strong directional light to look in the port, however it’s not essential. You will FEEL the dirt coming away.
- Periodically after scraping, tap the phone, port side down onto a hard surface to dislodge any debris. It will just fall oout
- Just repeat until the cable goes in and feel positive.
- Charging ports DO feel inherently wobbly so don’t worry about that. As long as when you wobble the cable it doesn’t disconnect it’s repaired..
If cleaning doesn’t work, inspect for physical damage.
Step 3: Inspect for Any Physical Damage
Physical damage can prevent the port from functioning. Look for bent pins, broken connectors, or loose parts.
- Use a magnifying glass to examine the port.
- Straighten any bent pins with tweezers or a toothpick.
- Check for broken connectors or loose parts.
If repair isn’t possible, consider replacing the port.
Step 4: Straighten Any Bent Pins or Connectors
Bent pins can obstruct the connection. Straightening them can resolve issues.
- Use tweezers or a toothpick to gently straighten bent pins.
- Clean the port again to remove any debris.
- Let the port dry before moving to the next step.
If unsure, seek professional help or proceed to replacement.
Step 5: Replace the Charge Port (If Necessary)
If the port is severely damaged, replacement is necessary.
- Obtain the correct replacement port.
- Follow your phone’s user manual to disassemble the device.
- Disconnect cables and remove the damaged port.
- Install the new port, ensuring proper alignment.
- Reconnect cables and reassemble the device.
Replacing the port is complex; seek professional help if needed.
Step 6: Test the Repaired Charging Port
After repair, test the port to ensure it works.
- Reinsert the battery and power on the phone.
- Connect to a power source with a known-good cable.
- Check for the charging indicator and a stable connection.
If it charges properly, the repair was successful. Otherwise, repeat cleaning or seek help.
Tips for Preventing Future Charge Port Damage
To avoid future damage:
- Handle with Care: Gently plug and unplug the cable.
- Regular Cleaning: Clean the port regularly to prevent debris build-up.
- Protective Accessories: Use a port cover or dust plug.
- Avoid Moisture: Keep the phone away from liquids.
Following these tips ensures your charging port stays in good condition.
Conclusion
Repairing your phone’s charging port doesn’t have to be daunting. Follow these 10 steps to regain control of your battery life and avoid a dead phone. Patience and attention to detail are key. If unsure, seek professional help. Take action today and enjoy uninterrupted battery life.
